
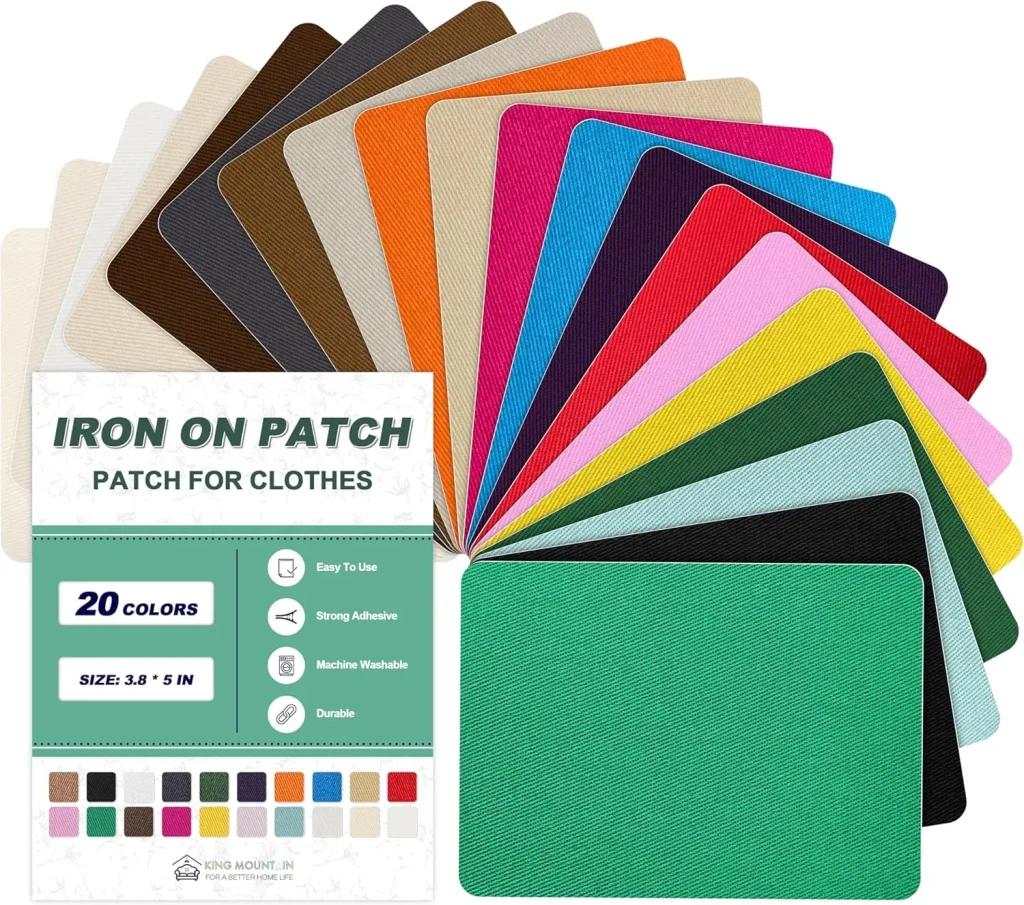
Iron-On Patches are a versatile and affordable way to mend, customize, and refresh fabric items, offering a quick update without a full remake. Whether you’re reviving a favorite jacket or personalizing a tote bag, this guide lays out practical tools, techniques, and troubleshooting tips for achieving durable results that hold up to daily wear and washes. You’ll learn how to apply iron-on patches with clear, step-by-step guidance. We also cover choosing fabrics and the essential considerations that help you get a clean, lasting bond, from fabric prep to pressing technique and test patches. With practical tips designed for beginners and hobbyists, this guide invites you to explore DIY clothing patches with confidence.
Beyond the brand name, these patches function as adhesive-backed embellishments that fuse to fabric with heat and pressure. In SEO terms, you can describe them as heat-activated appliques, stick-on fabric patches, or decorative emblems that offer a quick path to personalization. Approached this way, the topic connects to related ideas like DIY clothing projects, fabric care, and simple garment alterations, which helps readers discover practical tips beyond a single method. By emphasizing prep, proper heat, and gentle handling, this guidance highlights durability and care so patched items stay looking sharp.
1. How to Apply Iron-On Patches: A Clear, Beginner-Friendly Method
Applying iron-on patches starts with a clean, dry surface. Gather your tools—an iron with steady heat control, parchment paper or a teflon sheet, and a flat ironing board—and set aside a dedicated workspace. Pre-test the patch and fabric on a scrap piece to gauge heat and adhesion before you commit to the final garment.
Place the patch adhesive-side down onto the fabric, then cover with parchment paper. Press firmly with a stable, flat surface for 15 to 30 seconds, without moving the iron. Allow the patch to cool completely to let the adhesive set, which helps prevent shifting and ensures a stronger bond.
2. Choosing the Right Fabrics: Best Fabrics for Iron-On Patches
Cotton and denim are typically the most forgiving fabrics for iron-on patches due to their stable weave and high heat tolerance. These fabrics provide a reliable bond that can withstand regular washing and wear, making them a great starting point for beginners.
For knits, synthetics, or blends, you’ll want to adjust heat and pressing time, and in some cases reinforce the patch with light stitching after bonding. Always test on a scrap of the same material to calibrate temperature and duration, ensuring the patch adheres without scorching the fabric.
3. Tools and Techniques: Iron-On Patch Tools You Should Have
A quality iron with stable temperature control, a clean, flat ironing surface, and a protective barrier like parchment paper or a teflon sheet are essential. A dedicated workspace helps you apply patches consistently and reduces the risk of heat damage to other fabrics.
Additional tools such as sharp scissors, pins for placement, an adjustable pressing tool or small book to apply even pressure, and a lint-free cloth for surface cleaning all contribute to a cleaner finish. Investing in reliable tools can extend the life of patches and improve overall results.
4. Troubleshooting Iron-On Patches: Common Issues and Fixes
If a patch won’t adhere, recheck the heat setting and pressing time, then re-press with steady pressure. Ensure the fabric surface is clean, dry, and free of lint, oils, or residues that can interfere with the adhesive bond.
Edges lifting after washing can indicate insufficient adhesion or high-friction areas. Consider reinforcing the border with a few discreet stitches or choosing a patch designed for durable wear. Curling, dye transfer, or patch peeling are also addressed by protecting the patch with parchment paper, applying even pressure, and following colorfast testing procedures.
5. DIY Clothing Patches: Creative Possibilities and Limitations
DIY clothing patches open a world of personalization, from repairing wear to adding bold or subtle accents. Selecting the right patch type—woven, embroidered, or printed—can complement or contrast with the garment’s color and fabric, creating a unique statement piece.
Some projects benefit from sewing as a supplement to iron-on adhesion, especially in high-movement areas or frequent-wash items. A few discreet stitches around the edges can extend longevity, while experimenting with different patch sizes and shapes keeps your wardrobe fresh and expressive.
6. Finishing Touches and Care: Extending Patch Life on Everyday Wear
After pressing, let the patch cool for several minutes to fully set. For the first 24 hours, handle gently and wash inside out on a gentle cycle with cold water to protect the bond.
Air-drying is ideal, and if you must use a dryer, choose a low heat setting suitable for the fabric. Refrain from aggressive scrubbing near the patch, and consider reinforcement stitches or fabric adhesive along the border for long-term durability on frequently worn items.
Frequently Asked Questions
What is the basic method for how to apply iron-on patches to fabric?
To apply iron-on patches: clean and dry the fabric, place the patch adhesive-side down, cover with parchment paper, and press with a hot iron at about 300–350°F (150–175°C) for 15–30 seconds. Do not move the iron while pressing, and allow the patch to cool completely before handling. For best results, test on a scrap fabric first to calibrate heat and pressure.
What are common issues in troubleshooting iron-on patches and how can you fix them?
Common issues include patches not adhering, edges lifting, curling, dye transfer, and peeling after washing. Fix by checking heat settings and pressing time, ensuring the surface is clean and lint-free, using parchment paper to protect the patch, and applying steady pressure. If problems persist, reinforce edges with light stitching or use a higher-quality patch designed for durable wear.
Which fabrics are best for iron-on patches and why do the best fabrics for iron-on patches matter?
Cotton and denim are typically the best fabrics for iron-on patches due to their stable weave and heat tolerance. Knits and synthetics may require lower heat or shorter press times, and leather or heavy materials can present bonding challenges. Always test on a scrap fabric to calibrate heat and time for your specific fabric.
What tools make up a good iron-on patch tools setup for a clean bond?
A good setup includes a reliable iron with adjustable temperature, a flat ironing board, parchment paper or a teflon sheet, scissors, pins or tape to hold the patch, and a clean surface for prep. For even pressure, a small press or heavy object can help, and a lint-free cloth or brush keeps surfaces clean before applying the patch.
What are DIY clothing patches, and how can beginners get started?
DIY clothing patches let you repair, customize, and personalize items like jackets and tote bags. Beginners should start with cotton or denim, gather the basic tools, test heat settings on scrap fabric, and follow proper application steps. As you gain confidence, experiment with different patch designs and fabrics.
What care and washing tips help Iron-On Patches stay bonded longer?
Care for Iron-On Patches by washing cold and turning garments inside out to protect the bond. Let patches cool fully after pressing, avoid aggressive scrubbing near the patch, and skip high-heat drying when possible. If edges loosen over time, reinforce with a few discreet stitches for added durability.
| Section | Key Points |
|---|---|
| Introduction |
|
| Tools and Materials You217ll Need |
|
| Choosing the Right Tools (Iron-On Patches Tools) |
|
| Preparation: Prepping the Fabric and Patch |
|
| Application Techniques: How to Apply Iron-On Patches |
|
| Applying Patches on Different Fabrics |
|
| Finishing Touches and Aftercare |
|
| Troubleshooting Iron-On Patches |
|
| Best Fabrics for Iron-On Patches and Quick Tips |
|
| DIY Clothing Patches: Creative Possibilities and Limitations |
|
| When to Sew Instead of Iron-On |
|
| Common Mistakes to Avoid |
|
Summary
Iron-On Patches open a practical and creative way to repair, customize, and refresh clothing and accessories. This approach lets you extend the life of garments while adding personal style. By selecting the right tools, preparing fabrics properly, and following a careful application process, you can achieve durable, professional looking results. Start with cotton or denim and simple designs, then explore other fabrics and patch types as your confidence grows. Always follow patch guidelines and heat settings, test on scraps, and allow the bond to cure before washing. With practice, Iron-On Patches become a reliable go-to technique for wardrobe updates and unique fashion statements.