
You can remove and reuse patches without damaging fabric when you follow careful techniques and patient, steady hands. This guide introduces practical steps from identifying patch types to testing a small area before you begin. The article covers patch removal tips, fabric-safe techniques, and how to reattach or repurpose patches while safeguarding the fabric, with tips on patch repair on fabric. By planning placement and choosing compatible fabrics, you can extend the life of garments with minimal wear. Care for repaired garments and tips for reusing patches on clothing will help you refresh styles without compromising fabric integrity.
In broader terms, this topic can be framed as patch transfer and garment upcycling, where existing decorations move to fresh fabrics without damage. We can use alternative terms such as patch removal methods, fabric-friendly restoration, and decorative fabric customization that align with the garment’s weight and weave. LSI-friendly concepts include sew-on techniques, heat-free adhesion, and stabilizing backing that support care for repaired garments. By considering fabric compatibility and the garment’s intended use, you can plan a seamless patch journey that respects textile properties and style. Whether refreshing denim, canvas, or knitwear, this approach emphasizes thoughtful design, quality finishes, and long-lasting wear.
Understanding patch types and fabric interactions for safe removal and reuse
Before you begin, it’s essential to know the two main patch types you’ll encounter: iron-on patches and sew-on patches. Iron-on patches rely on heat-activated glue, which can be convenient but may scorch or lift delicate fabrics if mishandled. Sew-on patches are held by stitches and can be easier to remove with the right tool, yet they still risk fraying or snagging depending on fabric type. Understanding how denim, cotton, twill, canvas, silk, wool, and synthetic blends behave helps you choose fabric-safe techniques that protect the base material during patch removal and reuse.
This awareness also informs decisions about patch repair on fabric and reusing patches on clothing. By considering fabric weight, texture, and finish, you can minimize damage and uphold care for repaired garments while planning a thoughtful reattachment that preserves both look and feel.
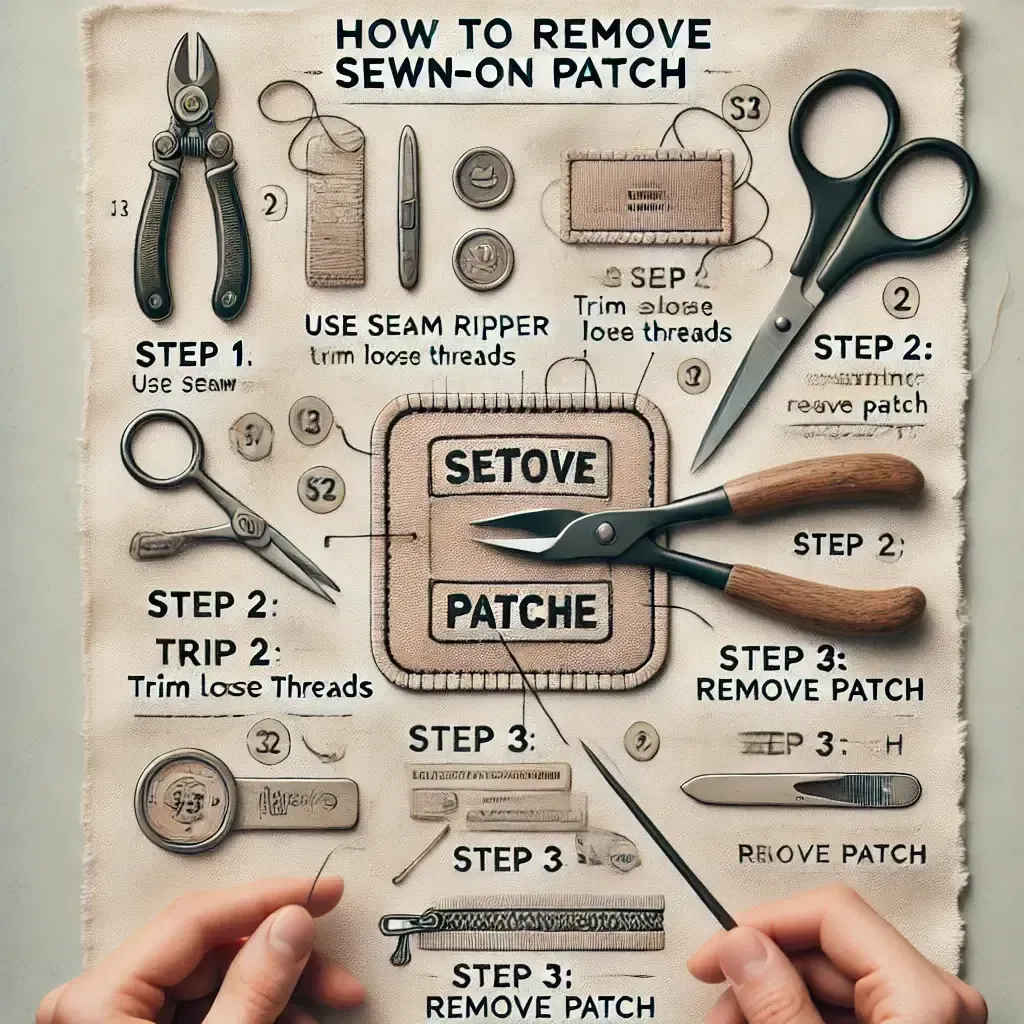
Tools and prep for patch removal and reattachment
Having the right tools makes patch removal safer and more efficient, aligning with proven patch removal tips and fabric-safe techniques. Essential items include a seam ripper or small sharp scissors, tweezers, a hair dryer or heat gun on a low setting, a neutral cleaner or rubbing alcohol, and a soft cloth or cotton swabs for precise cleanup.
Mark orientation with pins or chalk so patches land in the same position when you reattach. Testing a small area first remains critical to gauge heat tolerance and solvent effects. This prep supports careful patch repair on fabric and increases the likelihood of a clean, durable result when reusing patches on clothing.
Removing iron-on patches safely: heat-assisted techniques to protect fabric
Iron-on patches are often the easiest to remove with patience. Flip the garment inside out and apply warm, steady heat to soften the glue, then gently lift a corner with a fingernail or the edge of a seam ripper. Work in small increments along the edge to avoid pulling threads or scorching the fabric. This approach aligns with patch removal tips that emphasize gradual heating and minimal tension.
After an edge is free, peel slowly, and use a cloth lightly dampened with rubbing alcohol or a fabric-safe adhesive remover to address any residual residue. Rinse and air-dry the fabric, then reassess for any signs of damage that would preclude reuse. Clean handling and careful post-care are part of effective care for repaired garments.
Removing sew-on patches safely: preventing fray and snags
Sew-on patches require a slightly different approach to avoid pulling threads or creating snags. Inspect the stitching to determine if the thread is machine or hand-sewn, then carefully cut the stitches along the patch’s edge with small snips. Lift threads gradually to prevent fabric loops from snagging, and consider placing tissue or lightweight interfacing beneath fragile areas for support during removal.
As you remove threads, periodically check for fraying or puckering in the base fabric. If needed, pluck stray threads with tweezers and address any remaining stitches. After detaching the patch, clean any adhesive residues with a mild solvent suitable for the fabric and blot rather than rub, then air-dry before proceeding with reattachment.
Care after patch removal: aftercare for repaired garments and patch maintenance
With patches removed or relocated, post-care becomes crucial to preserve fabric integrity. Wash garments inside out on a gentle cycle to protect patches and base fabric, and use a mild detergent while avoiding high heat that can weaken threads or adhesives. If you used glue for attachment, allow full air-drying before washing and follow wash instructions to prevent detachment.
If you need to press patches, use a warm iron and a pressing cloth to shield both patch and fabric. This step supports longevity of the repair and aligns with broader care for repaired garments, ensuring smooth seams and a consistent finish after reattachment.
How to remove and reuse patches without damaging fabric on new garments
Planning placement is key when reusing patches on clothing. Consider orientation, seam lines, and fabric weight to ensure the patch sits securely and looks intentional. Matching fabrics—heavy denim with denim, lighter knits with lighter patches—helps maintain a balanced appearance and reduces strain on the material, aligning with guidance on reusing patches on clothing and patch repair on fabric.
Reattach using the method best suited to the patch and garment: sewing around the edge for durability or fabric glue when allowed by care instructions. For high-stress areas, sewing provides greater longevity. It’s wise to add a stabilizing backing behind the patch to prevent puckering, and to run a test wash to confirm the patch remains secure through laundering. This approach mirrors the steps outlined in patch removal tips and fabric-safe techniques while prioritizing the long-term care of repaired garments.
Frequently Asked Questions
How can I remove and reuse patches without damaging fabric on a garment, and what are the key patch removal tips?
Identify patch type (iron-on or sew-on). For iron-ons, apply gentle heat to soften the glue and peel back in small steps; for sew-ons, carefully cut the stitches and lift threads with tweezers, watching for fraying. Remove any adhesive residue with a cotton swab dampened with rubbing alcohol and let the fabric air-dry. Test a hidden area first and inspect for damage; with patient handling, you can remove and reuse patches without damaging fabric.
What fabric-safe techniques should I use for patch removal tips to preserve the fabric while reusing patches on clothing?
Always test a small fabric corner for heat and solvents. Use a seam ripper or small scissors for sew-on patches and a low-heat hair dryer for iron-ons. Work slowly along the patch edge, keeping tension minimal to avoid tearing. Clean glue residue with a fabric-safe solvent and blot rather than rub. Finish by laying the fabric flat to dry and planning for future reuse of the patch.
How do I reuse patches on clothing after removing them, while ensuring the fabric stays intact?
Plan placement before detachment, noting orientation to match seams or design lines. Choose patches compatible with the fabric weight and consider backing the area with light interfacing to reduce puckering. Attach reused patches by sewing around the edge with a tight satin stitch or use fabric glue where wash instructions permit; for high-stress areas, sewing is more durable. Inspect the fabric after reattachment and address any loose threads or edge fraying.
What care for repaired garments is recommended after patch removal and reattachment to maintain fabric health?
Wash garments inside-out on a gentle cycle with a mild detergent. Avoid high heat in the dryer, especially if glue was used; air-dry patches fully if glue is involved. When ironing, use a pressing cloth and a low heat setting to protect both patch and fabric. Regularly inspect patches and the surrounding fabric and re-sew or re-glue as needed to maintain longevity.
When a patch is damaged beyond reuse, how does patch repair on fabric differ from patch replacement?
Patch repair on fabric focuses on rearranging or combining several smaller patches to cover the damaged area while keeping the garment lightweight and breathable. Patch replacement involves placing a new patch in a complementary layout or adding a decorative patch that fits the garment’s style. The goal is to preserve fabric integrity and achieve a balanced look, whether you patch, repair, or replace.
What common mistakes should be avoided to successfully remove and reuse patches without damaging fabric?
Rushing removal can tear surrounding fabric, especially on delicate textiles. Ignoring fabric type and applying the wrong heat or solvent can cause damage; always test first. Over-cleaning with aggressive rubbing or solvents can weaken fibers or alter color. Skipping a test area can lead to unintended results; take time to plan orientation and method before reusing patches.
| Aspect | Key Points |
|---|---|
| Patch types and fabric interactions | Iron-on vs sew-on patches; iron-ons use heat-activated glue (removal can scorch if rushed). Sew-ons rely on stitches (risk of fraying). Fabric type matters (denim, cotton, twill, canvas behave differently from silk, wool, synthetics). |
| Tools & prep | Seam ripper or small scissors; tweezers; hair dryer or low-heat heat gun; adhesive remover; soft cloth; pins or chalk for orientation. |
| Testing a small area | Test a tiny corner to gauge heat/solvent reaction; stop if discoloration or texture change; aim to minimize tension to avoid damage. Goal: remove and reuse patches without damaging fabric. |
| Removing iron-on patches | Warm inside-out heat 30–60 seconds to soften glue; lift a corner gently; peel edges slowly; dab adhesive residue with rubbing alcohol; rinse and air-dry; reassess fabric for suitability to reuse. |
| Removing sew-on patches | Identify stitching type; carefully cut stitches from edge; lift threads, avoiding snags; check for fraying; place tissue or interfacing beneath; remove patch; clean remaining threads; dry before proceeding. |
| Adhesive residues & fabric care | Use rubbing alcohol or adhesive remover on a cotton swab; gentle wash for stubborn residue; air-dry; avoid direct heat; be extra careful with nap/pile fabrics. |
| Inspecting fabric after removal | Check for holes, fraying, or color changes; reinforce with internal patches or stabilizing interfacing as needed; finish edges if required. |
| Reusing patches on new garments | Plan placement; ensure fabric compatibility; reattach with tight satin stitch or fabric glue (if allowed); add backing for stability on high-stress areas. |
| Patch repair vs patch replacement | If a patch is damaged beyond reuse, consider a new patch arrangement by combining small patches or using a decorative patch that fits the garment; keep patches lightweight and balanced. |
| Common mistakes | Rushing removal; ignoring fabric type; over-cleaning; skipping small-area tests. |
| Care after removal/reattachment | Wash inside-out on gentle cycle; mild detergent; avoid high heat; air-dry if glue used; iron with pressing cloth if needed. |
Summary
Remove and reuse patches without damaging fabric is a craft that blends patience, technique, and a bit of creativity. By understanding patch types, using the right tools, testing your approach on a small area, and choosing appropriate methods for reuse, you can extend the life of your garments and keep your style fresh without sacrificing fabric integrity. Whether you’re salvaging a cherished patch or giving old clothing a second life, following these patch removal tips and fabric-safe techniques will help you preserve fabric quality while achieving a polished, personalized look. Remember, the goal is to respect the fabric, maintain its integrity, and find new ways to express your style through thoughtful patch reuse.