
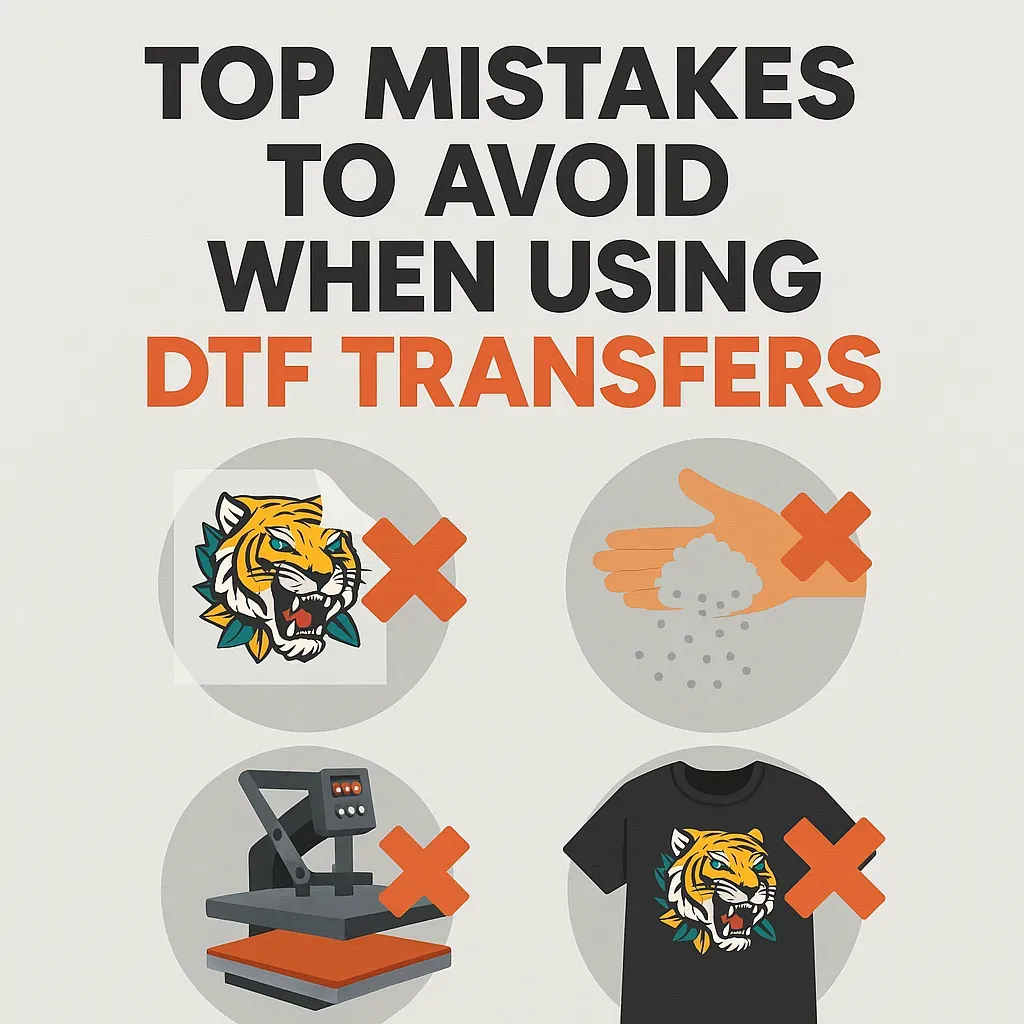
DTF mistakes to avoid can derail an otherwise strong design when you’re aiming for vibrant, durable transfers. From design prep to heat press timing, small missteps ripple into blurry edges, color shifts, and uneven adhesion. To consistently achieve flawless results, you must tune every stage—from artwork to finishing—and understand common pitfalls. In this guide, we highlight the key missteps and practical fixes that save time, material, and headaches. By following proven DTF transfers best practices and DTF printing tips, and focusing on how to avoid DTF errors, you also optimize DTF heat press settings and ensure DTF paper quality.
Alternative terms for this approach include direct-to-film printing, film-based transfers, and a heat-applied adhesive process. In practice, designers and printers may refer to it as a film transfer system or direct film printing, all describing the same technique. From an SEO and comprehension standpoint, LSI principles encourage using related phrases such as DTF transfers, DTF printing tips, how to avoid DTF errors, DTF heat press settings, and DTF paper quality to broaden topic coverage. By framing the topic with these synonymous terms, you help readers and search engines connect concepts like design prep, material selection, and finishing within the DTF workflow.
Frequently Asked Questions
What are the top DTF transfers mistakes to avoid during design prep and file setup?
Make the design print-ready before printing: use vector-based text or outline fonts, and ensure artwork is at least 300+ PPI at the final size. Use CMYK with a suitable ICC profile and keep layers separate so you can adjust density without reworking. Save test files at multiple sizes to verify how the image scales. These steps reduce blurry edges, color shifts, and other DTF mistakes when producing DTF transfers.
How does DTF paper quality contribute to common DTF mistakes and how can I avoid them?
Material quality matters: choose high-quality film, adhesive powder, and inks. Cheap or incompatible film can cause adhesion problems or ghosting, and low-grade powder can lead to uneven transfer. Always test a small batch to confirm adhesion and color fidelity. Paying attention to DTF paper quality helps prevent these issues and yields more reliable DTF transfers.
What DTF printing tips can reduce errors and improve transfer quality on fabric?
Follow practical DTF printing tips: dust the powder evenly in a single pass, avoid clumps, keep the workspace clean, and cure per manufacturer guidelines. Consistent powder application and proper curing reduce adhesion defects and color inconsistencies, helping minimize DTF errors in transfers.
What DTF heat press settings are critical to avoid transfer mistakes and ensure consistent results?
Use the recommended temperature range for your fabric (often about 150–170°C / 300–340°F) and a press time of 15–30 seconds. Apply even pressure with a sturdy platen and check for flat, wrinkle-free garments. Test on sample fabrics and document the best settings for each garment type to avoid DTF heat press settings mistakes.
How can testing on scraps or swatches help you avoid DTF errors in transfers?
Develop a standard pre-production protocol that includes a small swatch on each fabric type and a full-size test on your most common garment. Document results and adjust powder coverage, curing times, and transfer temperatures accordingly. Regular testing is a core strategy to avoid DTF errors in real-world production.
What post-press finishing steps are essential to avoid DTF mistakes and extend DTF transfers’ life?
Allow a brief cooldown, consider a light post-press if recommended by your suppliers, and provide clear care instructions to customers. Proper post-press finishing improves adhesion durability and wash-fastness, helping you avoid post-press mistakes in DTF transfers.
| Mistake | Why it matters | Practical fix |
|---|---|---|
| 1. Skipping proper design prep and resolution | Low-resolution images, rasterized text without vectors, and mismatched color profiles lead to blurry edges, color banding, and hue shifts. | Ensure artwork is vector-based for text, or at least 300+ PPI at final size; use CMYK with a designed ICC profile; separate layers to adjust density; save test files at multiple sizes to verify scaling. |
| 2. Choosing low-quality film or powder | Cheap or incompatible film and low-grade powder can cause adhesion problems, ghosting, or incomplete transfer. | Test a small batch before production; choose film with good release properties and stable tack; select powder with consistent particle size and even coverage. |
| 3. Inconsistent powder application | Uneven coverage yields patchy adhesion, ghosting, or a gritty texture; clumps or pooling reduce transfer quality. | Dust powder evenly in a single pass, brush or tap to even coverage, adjust the dispenser or sifting technique, and shake the design to settle powder. |
| 4. Failing to cure the powder properly after application | Improper curing can cause shifting, misalignment, ghosting, or dull colors during transfer. | Follow manufacturer curing duration and temperature; consider a brief post-application cure to stabilize powder; re-check curing parameters if stray powder is observed. |
| 5. Incorrect transfer temperature and time | Wrong heat and duration cause color bleed, scorching, or incomplete transfer. | Start with recommended temperature (≈150–170°C / 300–340°F) and 15–30 seconds; conduct tests on fabric samples; document best settings. |
| 6. Uneven pressure and movement during transfer | Uneven pressure or garment movement leads to ghosting, edge wear, or partial adhesion. | Use a press with even platen pressure or a silicone cushion; keep garment flat and aligned; ensure transfer sheet remains in place during pressing. |
| 7. Inappropriate garment choice and moisture content | Fabric type and moisture affect adhesion and color fidelity; wrong fabric or moisture can cause peeling or distortion. | Pre-test on actual garment; keep fabrics dry and stored in a controlled environment to minimize moisture issues. |
| 8. Not pre-pressing the garment before application | Skipping pre-press leaves moisture and wrinkles that can cause bubbling or distortion under the film. | Pre-press for 3–5 seconds to create a flat, stable surface; especially important for terry, fleece, or thicker fabrics. |
| 9. Not testing on scraps or swatches before large runs | Skipping tests risks repeating mistakes across batches, wasting material and time. | Develop a pre-production test protocol on fabric swatches and a full-size test on common garments; document results and adjust settings. |
| 10. Inadequate post-press finishing and care instructions | Insufficient finishing or care guidance harms wash-fastness and durability. | Allow cooldown, perform a brief post-press if recommended, and provide clear care instructions to customers to maximize transfer life. |
Summary
DTF mistakes to avoid span a range of design, material, and processing choices; by addressing these key pitfalls—from design prep and material selection to curing, pressing, and post-care—you can achieve consistent, high-quality DTF transfers.