
DTF heat press settings are the foundation of vibrant, durable transfers across fabrics. By optimizing them, you control adhesion, color density, and edge sharpness. Understanding how temperature and dwell time interact with fabric thickness helps prevent scorching and misprints. With systematic testing, you can tailor the process to polyester, cotton blends, and performance fabrics. This guide outlines practical steps to tune heat, time, and pressure for reliable DTF transfers.
From a broader perspective, this guide reframes the process with terms like DTF transfer settings to highlight the practical levers you adjust during a print. As you map heat, dwell time, and pressure to different fabrics, you’ll also encounter common DTF printing troubleshooting scenarios. Consider bonding efficiency, platen contact, and substrate readiness to ensure consistent adhesion and wash-fast durability. By coupling these concepts with your chosen film type and garment, you can build a repeatable recipe that delivers reliable results.
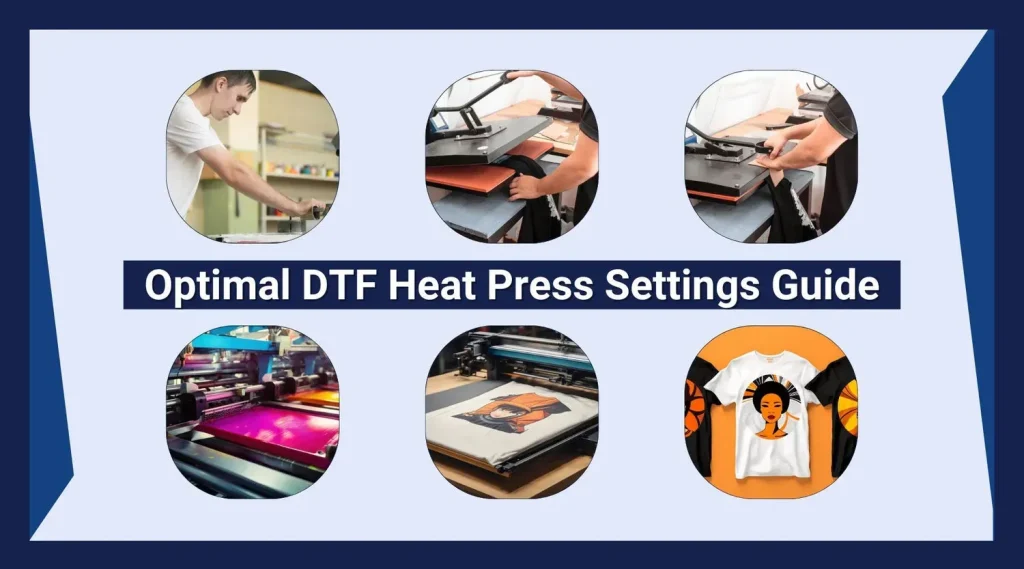
[DTF heat press settings] Essential Guide to Temperature, Time, and Pressure for Consistent Transfers
Mastering [DTF heat press settings] starts with recognizing that temperature, time, and pressure work together to activate adhesives, set color density, and secure fabrics through multiple wash cycles. When these factors align, you’ll see crisp edges, vibrant colors, and durable transfers regardless of fabric type. This descriptive guide explains how to tune heat, dwell, and contact so you can predict outcomes rather than rely on guesswork.
A disciplined testing workflow helps you build a repeatable recipe. Begin with a baseline temperature, time, and pressure, then document observations on swatches and fabric swatches. The goal is a production-ready standard that reduces misprints and makes DTF printing troubleshooting easier when something deviates.
DTF Heat Press Temperature: Set, Calibrate, and Optimize for Different Fabrics
DTF heat press temperature is a primary driver of adhesive activation and ink density. Start with roughly 150–160°C for many polyester and cotton blends and adjust in small steps (5–10°C) based on results. Remember that film and ink choices, as well as fabric thickness, can shift the ideal temperature.
Always consult the film manufacturer’s recommendations and test on scrap fabric with similar composition. Ensure the temperature is consistent across the platen to avoid uneven adhesion and color variation, and use preheating to maintain a stable baseline before transfers.
DTF Heat Press Time: Dwell Time Strategies for Sharp Details
DTF heat press time, or dwell time, determines how long the adhesive bonds to the fabric while protecting print quality. Typical ranges span from 10 to 15 seconds at the target temperature, with some films tolerating 12–14 seconds and others requiring up to 20 seconds on thicker fabrics.
The temperature-time interplay means higher temperatures can shorten dwell time, while lower temperatures usually call for longer times. After pressing, perform a peel (hot or cold, per film and ink) and allow the garment to cool to minimize edge curl and color shift.
DTF Pressure Guidelines: Ensuring Consistent Contact Across the Platen
Pressure links temperature and time, delivering uniform adhesion. Too little pressure yields incomplete transfer, while excessive pressure can smear ink or imprint the backing. A mid-range pressure that secures full contact across the transfer area is essential for consistent results.
If your press has a gauge, use it to target even contact and calibrate across the platen. Thicker garments may require slightly more pressure, while thin fabrics benefit from careful adjustment to avoid imprinting or heat damage. Document your test results to establish reliable ranges per fabric type.
DTF Transfer Settings: Choosing Films, Inks, and Peel Methods for Durability
DTF transfer settings include selecting the right transfer film, adhesive, and the peel method (hot vs cold). A protective silicone or teflon sheet helps distribute heat evenly and protects the design from direct metal contact while contributing to consistent adhesion.
Develop a standard recipe by recording temperature, time, pressure, and peel method, then validate across multiple runs and fabrics. This documentation supports durability through wash cycles and helps you reproduce reliable results for future jobs.
DTF Printing Troubleshooting and Quality Assurance
DTF printing troubleshooting focuses on addressing common issues such as ghosting, bleeding, and misregistration. Re-test with adjusted pressure, verify proper adhesion, and confirm that peel methods and pre-press steps are applied correctly to reduce moisture and wrinkling.
Quality assurance builds a repeatable workflow: use a star test with a standardized swatch network, maintain logs of machine, film type, and settings, and train operators on the approved SOP. Running longer production batches helps confirm stability and color density across wash cycles, boosting overall customer satisfaction.
Frequently Asked Questions
What is the best starting point for DTF heat press temperature?
Start around 150–160°C (302–320°F) for common polyester and cotton blends. Check the transfer film and ink guidelines, preheat the press, and run a scrap test. Adjust in small steps (5–10°C / 10–20°F) until color density remains stable and there’s no scorching. Ensure even platen heat for consistent adhesion.
How long should you press with DTF heat press time?
Typical dwell times are 10–15 seconds at the set temperature. Some films respond to 12–14 seconds; others may require up to 20 seconds depending on fabric thickness and ink saturation. Higher temperatures can allow shorter times, while lower temperatures may require longer times. After pressing, perform a hot or cold peel as recommended by the film guide and let the garment cool before handling.
What are effective DTF pressure guidelines for a consistent transfer?
Use a mid-range pressure (preferably with a gauge) to ensure even contact across the transfer. Thick garments may need slightly more pressure; thin fabrics may require less to avoid imprinting. Calibrate pressure across multiple spots on the platen and check edge adhesion to prevent ghosting.
How do I adjust DTF transfer settings for different fabrics?
Begin with the manufacturer’s transfer settings and vary temperature, time, and pressure in small increments. Test on fabrics with similar composition using a few swatches and adjust one variable at a time. Document results to build a reliable recipe for each fabric family.
What are common DTF printing troubleshooting steps for heat press issues?
Typical issues include ghosting, color bleeding, edge cracking, fabric warping, and adhesive residue. Address by adjusting pressure and/or temperature, verify the peeling method, ensure proper silicone sheet usage, and confirm film/ink compatibility and press alignment and cleanliness.
How can I test and calibrate my DTF heat press settings for reliable results?
Conduct a star test across fabrics, recording date, operator, machine model, film type, temperature, time, pressure, and peel method. Build a standard recipe per fabric family and validate with longer runs to ensure color density and adhesion stay consistent after washing.
| Aspect | Key Points | Practical Guidance | Impact / Why It Matters |
|---|---|---|---|
| Focus and Definition | DTF heat press settings influence how well the adhesive binds the printed film to fabric; proper calibration of temperature, time, and pressure is essential for consistent results. | Calibrate temperature, time, and pressure together and run swatch tests; log results to track what works. | Leads to sharp colors, durable transfers, and reduced misprints across fabrics. |
| DTF Heat Press Temperature: What to Know | Temperature largely drives adhesion. Start around 150–160°C (302–320°F); adjust in small steps based on film, ink, and fabric. | Start with a baseline, preheat, and verify a consistent platen temperature. Refer to film/ink recommendations and test on representative fabric scraps. | Prevents fading/bleed; avoids scorching; ensures even adhesion across the print. |
| DTF Heat Press Time | Dwell time controls how long heat-activated adhesive bonds; typical range is 10–15 seconds; higher temperatures may allow shorter times. | Use manufacturer recommendations; test with a small set of swatches; document color clarity and edge definition. | Promotes clean edges and accurate color saturation without dulling the print. |
| DTF Pressure | Pressure balances temperature and time; too little causes incomplete adhesion, too much can smear or imprint; aim for even contact over the transfer area. | If possible, use a pressure gauge; apply firm, even pressure; adjust for fabric thickness and backing. | Ensures uniform transfers and minimizes ghosting or edge artifacts. |
| Preheat & Platen Temperature Consistency | Preheat to target platen temperature and maintain stable heat across the bed. | Verify with an accurate thermometer; use protective layers and ensure platen is flat and clean. | Reduces heat variation, improving repeatability and adhesion quality. |
| Testing & Calibration | Testing is essential for repeatable results; build a library of test swatches across fabrics and films; adjust one variable at a time. | Gather fabrics, set initial parameters, run small tests, evaluate outcomes, and document results. | Creates a reliable standard recipe and improves consistency across jobs. |
| Common Mistakes & Troubleshooting | Ghosting, bleeding, cracking, warping, and adhesive residue signal suboptimal settings or handling. | Re-test with adjusted pressure/temp/time; check peel method (hot vs cold) and ensure protective layers are used. | Reduces misprints and material waste; improves final print quality. |
| Advanced Tips for Consistency | Use protective layers, perform a brief pre-press to remove moisture, and monitor dwell time with a timer; consider ramp control. | In production, implement a timer, use gentle ramp-up, and guide customers on care to preserve transfers. | Improves durability, color vibrancy, and repeatability across batches. |
| Quality Assurance & Ongoing Process | Establish ongoing QA with standardized test swatches and meticulous record-keeping. | Create a production log (date, operator, machine, film, temperature, time, pressure, peel) and train operators on validated settings. | Supports scalable, consistent quality and quicker onboarding for new staff. |
Summary
HTML table summarizing the key points of DTF heat press settings and a descriptive conclusion.