
Digital patterns to embroidery open a bridge between modern design and traditional stitchwork, turning flat art into tactile texture. With graphic tools and user-friendly embroidery software, artists can translate complex images into stitched narratives that feel tactile and alive. This guide provides a practical path from preparing digital art for embroidery to selecting stitches that bring drawings to life on fabric, balancing line work and color transitions. You’ll learn a workflow that blends digitizing techniques for embroidery with thoughtful color planning and stitch choices to achieve durable results. This clear framework helps crafters and professionals alike, guiding you from concept to finished textile with confidence.
Equally, you can think of this as translating digital design into fabric-ready stitchwork, a form of embroidery digitization that bridges software and sewing. Some designers approach the task as vector art to embroidery patterns, translating lines into stitch directions that ensure clean edges and scalable designs. Other practitioners describe it as converting art into thread-based motifs, balancing structure, color, and texture to suit both machine and hand stitching. By using a thoughtful workflow—considering underlay, density, and color mapping—you can create embroidery-ready designs that honor the original artwork. These LSI-friendly terms help search engines connect related topics and guide readers toward practical steps for turning digital art into stitched fabric.
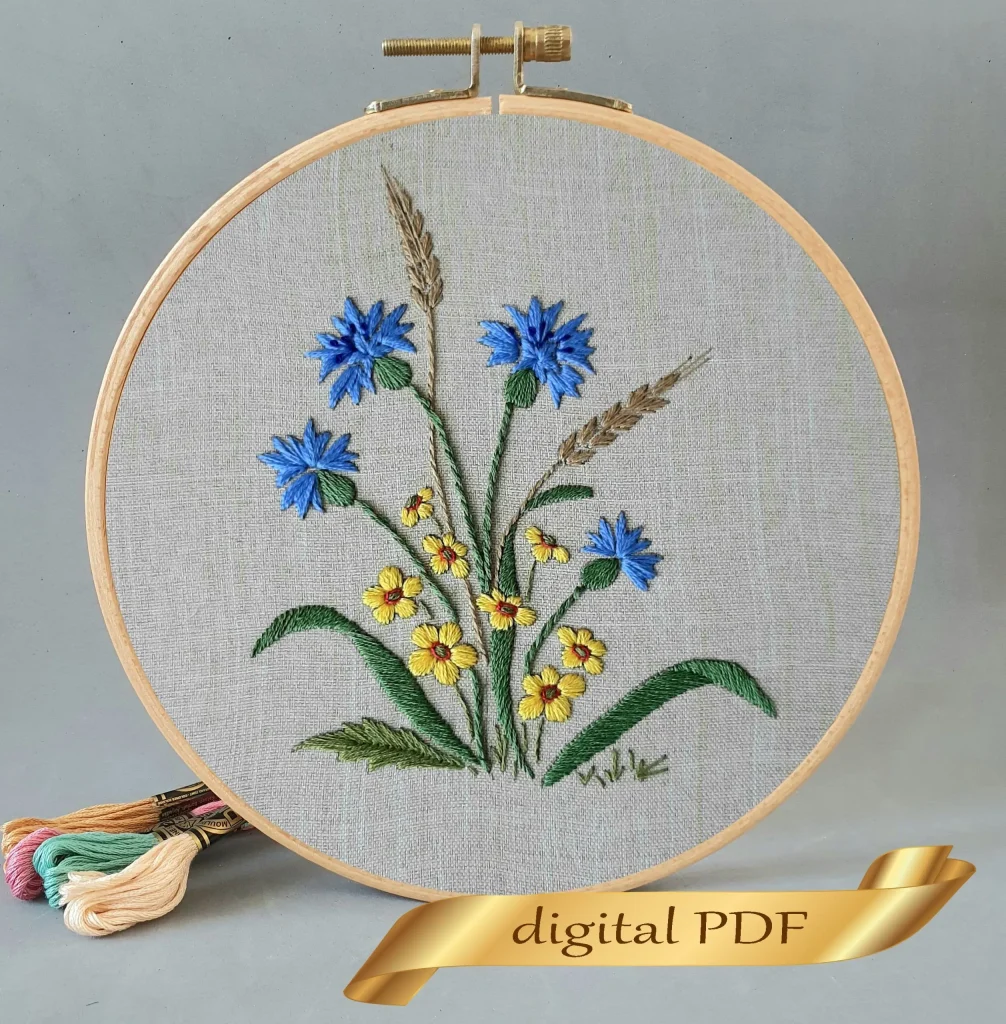
Digital patterns to embroidery: bridging design and stitchwork
Digital patterns to embroidery act as a creative bridge, turning flat artwork into tactile textile narratives. Designers and hobbyists can translate complex images into stitch-ready designs, preserving key motifs while adapting them to embroidery constraints. This process starts with a clear plan for how the original art will read as stitches, ensuring the final piece maintains the intended mood and composition.
To optimize this translation, embrace the core ideas of convert digital patterns to embroidery and apply practical approaches from digitizing techniques for embroidery. By considering vector art to embroidery patterns and pattern transfer methods for embroidery early on, you can establish a workflow that preserves edge clarity, scale, and texture, making the transition from screen to fabric smoother and more predictable.
Preparing artwork for successful digitizing
Preparation is the foundation of a clean embroidery result. Start by evaluating line clarity, color blocks, and overall balance to decide how to simplify the artwork for stitching. Reducing detail and sharpening contrasts helps the machine read shapes accurately, reducing the risk of muddied outlines or dense fills.
In practice, aim to convert digital patterns to embroidery with a simplified palette and crisp boundaries. Where possible, vectorize key shapes to preserve sharp edges, leveraging vector art to embroidery patterns to maintain scalability. This preparatory step also aligns with pattern transfer methods for embroidery, ensuring the design transfers cleanly to fabric with minimal distortion.
Digitizing techniques for embroidery: from design to stitch plan
Digitizing is the core transformation from artwork to stitch file. The process involves choosing an appropriate hoop size, selecting stitch types, and organizing a color palette that reflects the artwork. A typical workflow uses outlines for definition, fills for solid areas, and delicate textures for fine details.
As you map out stitches, follow a logical sequence that mirrors the image’s structure. Use underlay to stabilize fabric, manage stitch density to prevent puckering, and plan color layers from light to dark. Mastering digitizing techniques for embroidery empowers you to convert digital patterns to embroidery with confidence, and it often benefits from revisiting the original art through vector design and color testing.
From raster to vector: leveraging vector art to embroidery patterns
Vector art to embroidery patterns is particularly valuable when you need scalable, crisp edges that hold up at different sizes. Converting raster elements to vector paths lets you preserve edge quality and then translate those paths into stitch directions that embroidery software can interpret.
Even if the source is raster, tracing essential shapes into vector form and re-importing the simplified vector into your digitizing software helps keep curves clean and stitches efficient. This approach supports smooth transitions in pattern transfer methods for embroidery, helping maintain design integrity across fabrics and applications.
Color, materials, and transfer: pattern transfer methods for embroidery
Color strategy is central to translating digital art into stitches. Build a palette that maps to real thread colors, considers undertones, and accounts for fabric interaction. Effective color planning helps reduce unnecessary thread changes and ensures the final piece reads as the intended image.
Pattern transfer methods for embroidery bridge design and fabric. Stabilizers, heat pens, and temporary adhesives are among the tools that help you transfer lines and motifs with precision. When you’re ready to stitch, align color stops in the software and test on similar fabric to confirm that the transfer remains visible yet easy to remove, yielding a durable, professional finish.
Practical workflow: turning digital art into embroidery stitching
A practical workflow for turning digital art into embroidery stitching typically starts with simplifying the image, then converting shapes into vector paths when possible. Import the design into your embroidery software to draft a new stitch file, creating a sequence that moves from outline to fill with appropriate stitch types.
Next steps include selecting thread colors that closely match the artwork, planning thread changes, running a test on similar fabric, and adjusting density or underlay as needed. This approach brings together convert digital patterns to embroidery, digitizing techniques for embroidery, vector art to embroidery patterns, and pattern transfer methods for embroidery into a streamlined process you can repeat with consistency.
Common pitfalls and how to avoid them
Even seasoned creators encounter challenges when translating digital patterns to embroidery. Excessive fill density can cause puckering or fabric distortion, while too many color changes can complicate production. Anticipate these issues by planning simple color blocks, choosing efficient stitch types, and testing on similar fabric before committing to a final piece.
For vector art to embroidery patterns, keep curves as clean as possible and favor longer stitches for rounded shapes to reduce stitch count and visual busy-ness. Remember to validate the workflow with small tests, adjust underlay for stability, and consider scalable vector paths to maintain proportion and edge quality across media.
Frequently Asked Questions
What are digital patterns to embroidery and how do digitizing techniques for embroidery help translate them into stitched art?
Digital patterns to embroidery refer to turning digital artwork into stitch-ready designs. Digitizing techniques for embroidery convert your image into a stitch file by outlining shapes, assigning stitch types, and building color layers. Start by simplifying lines, increasing contrast, and creating a practical color palette before you stitch, ensuring clean edges, balanced coverage, and durability when converting digital patterns to embroidery stitching.
How does vector art to embroidery patterns aid the process of turning digital art to embroidery stitching, especially when scaling designs?
Vector art to embroidery patterns preserve edge sharpness because vector files keep crisp lines at any size. If you work with vector art, trace outlines and export stitch directions; for raster images, vectorize key shapes to maintain edges and then re-import into digitizing software. This approach supports scalable, consistent results when transforming digital patterns to embroidery.
What pattern transfer methods for embroidery are most effective for applying designs to fabric?
Pattern transfer methods for embroidery include tracing with carbon transfer, using a lightbox, sticky stabilizers, water-soluble or heat-erasable pens, and temporary adhesives. Hoop fabric securely, use appropriate stabilizers for the fabric, mark reference points, and run a small test transfer to ensure visibility and easy removal after stitching.
What is a practical workflow for turning digital patterns to embroidery stitching from start to finish?
A practical workflow for turning digital patterns to embroidery stitching: 1) prepare the digital image by simplifying lines and reducing colors; 2) vectorize key shapes if possible; 3) import into embroidery software and create a new stitch file; 4) plan the stitching order (outer contour first, then fills); 5) assign thread colors and set color stops; 6) run a test on similar fabric with the chosen stabilizer; 7) tweak density, underlay, and stitch types for better coverage and durability.
How should I manage color and stitch language when converting digital patterns to embroidery?
Map colors to a practical thread palette from reliable brands and test on fabric swatches. Plan stitch language: satin stitches for clean edges, long-and-short stitches for shading, and running stitches for details. Use underlay to stabilize dense areas and consider layering or blending threads to mimic gradients. This keeps color fidelity while staying efficient for embroidery.
What common pitfalls should I avoid when converting digital patterns to embroidery, and how can I prevent them?
Common pitfalls include overly dense fills that cause puckering, too many color changes, and busy curves when using vector art to embroidery patterns. Avoid by simplifying shapes, choosing appropriate stitch types and densities, testing on similar fabric, and starting with a small swatch. Also ensure proper stabilizers and secure hooping to maintain alignment throughout the digital patterns to embroidery process.
| Aspect},{ |
|---|
| Introduction},{ |
Summary
Digital patterns to embroidery is a transformative journey that translates digital art into tactile textile storytelling. By bridging modern design and traditional stitchwork, this field lets artists and hobbyists turn flat images into stitched narratives. This descriptive exploration highlights preparing digital art for embroidery, selecting stitches that bring drawings to life on fabric, and the workflow from digitizing techniques for embroidery to pattern transfer methods for embroidery, emphasizing how vector art to embroidery patterns and color considerations influence final results. Through careful testing on similar fabrics, stabilizers, and thoughtful stitch planning, you can achieve durable, expressive embroidery that faithfully translates the original artwork.