
3D embroidered patches have surged in popularity as a fun, durable way to personalize jackets, bags, and all kinds of gear, giving you a tactile way to showcase personality that flat embroidery simply can’t match. These patches stand out with a raised, textured look and are a favorite choice for enthusiasts seeking bold, tactile detail that catches the eye from across the room. They’re versatile, letting you mix color, padding, and stitching to build depth on a range of fabrics and adapt the design to different garments and gear. If you’re looking to upgrade your wardrobe with a distinctive, handmade touch, learning how 3D embroidery techniques can be applied to patches opens up creative pathways and enjoyable, hands-on projects. This introductory overview highlights what makes 3D patches special, outlines the essential tools and materials, and points toward practical ideas for applying DIY patches in everyday projects, from upcycling old jackets to personalizing backpacks and gear with textured flair.
In broader terms, you might call these raised fabric appliqués or puff patches, where padding creates a sculpted, tactile surface. The core idea is dimensional embroidery, which relies on foam or felt and careful stitch planning to build height above the base fabric. Applied to jackets, bags, hats, or gear, the result is a standout embellishment that remains durable through regular wear. LSI-friendly terms like padded embroidery and textured appliqués help search engines connect related topics, from design planning to finishing touches.
What Makes 3D embroidered patches Stand Out in DIY Projects
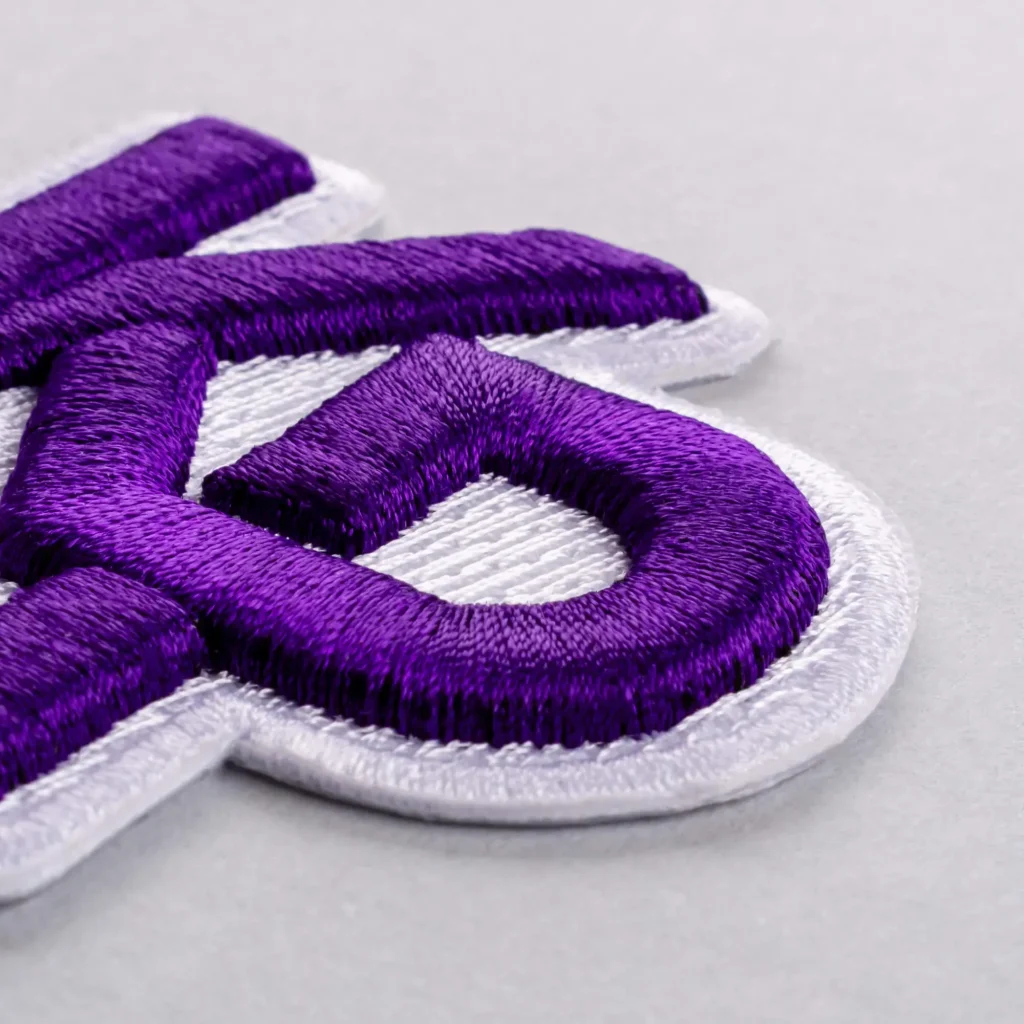
3D embroidered patches bring a tactile, sculpted presence to fabric projects, turning ordinary jackets, bags, and gear into wearable art. The raised texture catches light from multiple angles, creating depth and personality that flat embroidery simply can’t achieve. For DIY patches, this illusion of dimension elevates logos, motifs, and characters into statement pieces that feel ready-made and professional.
This guide highlights how the padding, layering, and stitching work together to create the signature lift of 3D patches. By combining foam, felt, or soft stabilizers with careful thread tension and layer management, you can craft designs that look durable and bold—perfect for jackets, bags, and other gear you wear every day. In short, the 3D effect is a powerful visual and tactile cue that sets DIY patches apart from traditional embroidery.
Essential Tools and Materials for DIY Patches
To start making patches that stand up to wear, assemble a core kit: a fabric base, padding material such as foam or felt, an embroidery machine with compatible software, stabilizers, and a full range of threads. The right backing and finishing options—fusible or sew-on—help your patches anchor firmly to jackets, bags, or gear and stay looking sharp through washing and daily use.
Beyond the basics, think about the pacing of your build. The padding choice shapes the height, while sturdy backing supports durability. This is where DIY patches become customizable patches for bags and gear: you can tailor padding thickness, stitch density, and backing type to the fabric you’re working with—whether it’s denim, leather, or canvas—and still achieve a consistent, professional result.
Designing High-Impact 3D Patches: Color, Padding, and Layering
Great 3D patches start with a bold design and a color strategy that translates well into relief and texture. High-contrast outlines and solid color blocks read clearly in 3D, while careful color selection ensures the padding layers don’t obscure the artwork. When designing, consider how each color interacts with the foam or felt beneath it to keep the image crisp on jackets, bags, and gear.
Layering is the heartbeat of 3D embroidery techniques. Plan how the embroidery will build height—from the base outlines to the top-most highlights—so the patch maintains shape during wear and washing. By sequencing stitches and padding thoughtfully, you create a patch that remains discernible and vibrant on patches for jackets and other gear.
Step-by-Step: Building Your First 3D Patch
Begin with a simple motif that translates well to raised dimensions, sketch the palette, and mock up a design in your embroidery software. This first step sets the groundwork for a patch that appears bold and cohesive, whether it’s a character, logo, or emblem intended for a denim jacket or tote.
Next, transfer the design to fabric, hoop with appropriate stabilizer, and run a multi-layer stitch plan that includes padding paths. Start with a light outline to lock the fabric, then add padding, and finish with dense stitches to secure the layers. Trim cleanly around the edge and attach the chosen backing for a durable, ready-to-wear patch.
Attaching and Wearing: Apply Patches to Jackets, Bags, and Gear
When applying, consider the item’s use and fabric. A machine-sewn patch offers durability for regular wear on jackets and gear, while a heat-pressed backing can provide a quick, clean finish on bags and backpacks. Each method supports the idea of customization—creating custom patches for bags and gear that reflect your personal style.
After attaching, care for your patches by washing gently, turning the garment inside-out, and avoiding high heat which can deform padding. With proper care, your patches for jackets and other gear will retain their height, color, and legibility, keeping the 3D effect strong through countless wears and washes.
Creative Ideas to Expand Your DIY Patch Collection
Expand your collection by designing sets that share a common theme, color palette, or motif. A mini-series approach helps create cohesive looks across jackets, bags, and gear, making it easier to mix and match patches with the items you own.
Experiment with textures and finishes to push the 3D effect further. Try gradient or metallic threads, combine foam with felt for varied tactile experiences, and collaborate with friends to design patches that reflect shared interests. These approaches yield unique custom patches for bags and gear that feel like collectible, wearable art.
Frequently Asked Questions
What are 3D embroidered patches and how do they work for DIY patches?
3D embroidered patches are fabric patches stitched with padding (foam, felt, or soft stabilizer) beneath the embroidery to create a raised, dimensional effect. This uses 3D embroidery techniques to add height and texture, making them ideal for DIY patches on jackets, bags, and gear.
Why choose 3D patches for jackets and bags?
The raised surface adds visual impact and durability, especially on patches for jackets and bags. They offer customization options with padding thickness, backing, and stitch styles, and work well on leather, denim, and canvas for DIY patches and custom patches for bags and gear.
What tools and materials do I need to make 3D embroidered patches?
A fabric base, padding material (foam or felt), an embroidery machine or hand embroidery supplies, stabilizers, threads, fusible or sew-on backing, scissors, and a heat source for finishing. These items cover the basics for DIY patches and 3D embroidery techniques.
What’s a basic step-by-step workflow to create a 3D patch?
Design a motif with bold outlines for the 3D effect, choose padding and backing, stitch the outline, add padding, then complete stitching to secure padding and fabric. Finally trim, attach backing, and prepare for sewing or fusing onto garments as part of DIY patches.
How do I apply and care for 3D patches on jackets or bags?
Attach the patch using sewing for durability or a fusible backing for easy application. Wash patches inside out on gentle cycles, avoid high heat to protect padding, and reinforce loose stitches as needed to extend life on jackets and bags.
What design tips help achieve a professional look with 3D patches?
Keep designs bold and high contrast to read in 3D, balance padding with fabric to avoid distortion, test on scrap fabric with the same stabilizers, and plan maintenance by choosing durable backing and threads. These 3D embroidery techniques help create professional results for DIY patches and custom patches for bags and gear.
| Aspect | Key Points |
|---|---|
| Definition | 3D embroidered patches are fabric patches stitched with padding (foam, felt, or soft stabilizer) under embroidery to create a raised, dimensional look, distinguishing them from flat patches. |
| Benefits for DIY | Visual impact: raised surfaces catch light and pop on fabrics; Durability: padding aids wear resistance; Customization: adjustable color, padding, stitch style, and backing; Versatility: works on leather, denim, canvas, and sturdy fabrics. |
| Core elements | Design, padding, embroidery stitches, and backing. Padding options (foam, felt, soft stabilizer) affect height; stitches shape the design; backing stabilizes for sewing and washing. |
| Tools & materials | Base fabric; Padding (foam or felt); Embroidery machine or hand embroidery supplies; Stabilizer; Threads; Fusible or sew-on backing; Scissors/knife; Optional heat press. |
| Getting started | Design simple motifs with bold outlines; choose padding and backing; plan stitch order to outline, add padding, and secure layers. |
| Step-by-step workflow | 1) Sketch design and select color palette; 2) Digitize and set up multi-layer stitch plan; 3) Hoop fabric with stabilizer; 4) Stitch, add padding, then stitch to secure; 5) Trim and attach backing. |
| Projects spotlight | Jackets: bold emblems on denim or leather; Bags: smaller, intricate patches on backpacks/totes; Gear: patches on laptop sleeves and organizers for visible detail. |
| Tips for professional results | Keep designs bold and simple; balance padding with fabric; test on scrap fabric; plan for maintenance; customize motifs to fit specific items. |
| Care & longevity | Wash inside-out on gentle cycle or hand wash; avoid high heat; reinforce loose stitches as needed; reattach peeling edges with glue or sewing. |
| Creative ideas | Mini-series themes; gradient or metallic threads; mix textures (foam + felt + embroidery); collaborate with friends for shared-passion patches. |
Summary
3D embroidered patches are a dynamic, durable way to upgrade jackets, bags, and gear, offering texture, depth, and personalized style. By combining design, padding, and high-density stitches, crafters can create eye-catching patches that resist everyday wear and washing. The core elements—design, padding, stitches, and backing—together determine the patch’s height, durability, and finish. With careful planning and proper materials, beginners and seasoned makers alike can produce custom 3D embroidered patches for bags and gear that fit any project. Explore ideas from bold logos to whimsical motifs to keep expanding a collection of unique patches.