
3D Embroidered Patches have reshaped the humble fabric badge into a tactile, eye-catching accessory that stands out on jackets, backpacks, and more. By combining raised stitches and carefully chosen threads, these patches create depth that catches light and invites touch. Whether you’re creating custom embroidered patches for a team or launching a small line, you’ll want to understand backing options for patches and the best techniques. This guide also touches on puff embroidery patches, a popular approach that adds extra height and texture. If you’re curious about how to make embroidered patches, the following steps walk you from concept to finished wearable art.
Beyond the label ‘3D Embroidered Patches’ (often called 3D embroidery patches), designers describe the effect as raised, layered embroidery, dimensional patches, or puff patches that deliver tactile drama. Other terms like raised embroidery, textured patches, and multi-layer badges help capture the same concept for search engines while guiding creators. When planning, consider backing options for patches and how foam, stabilizers, and stitch height influence durability and wearability. Whether you call them puff embroidery patches or dimensional patches, the goal is the same: bold imagery, crisp edges, and a comfortable feel on fabric. If you’re researching for a project, terms like ‘how to make embroidered patches’ and ‘custom embroidered patches’ can point you to practical tutorials.
Understanding 3D Embroidered Patches: Depth, Texture, and Durability
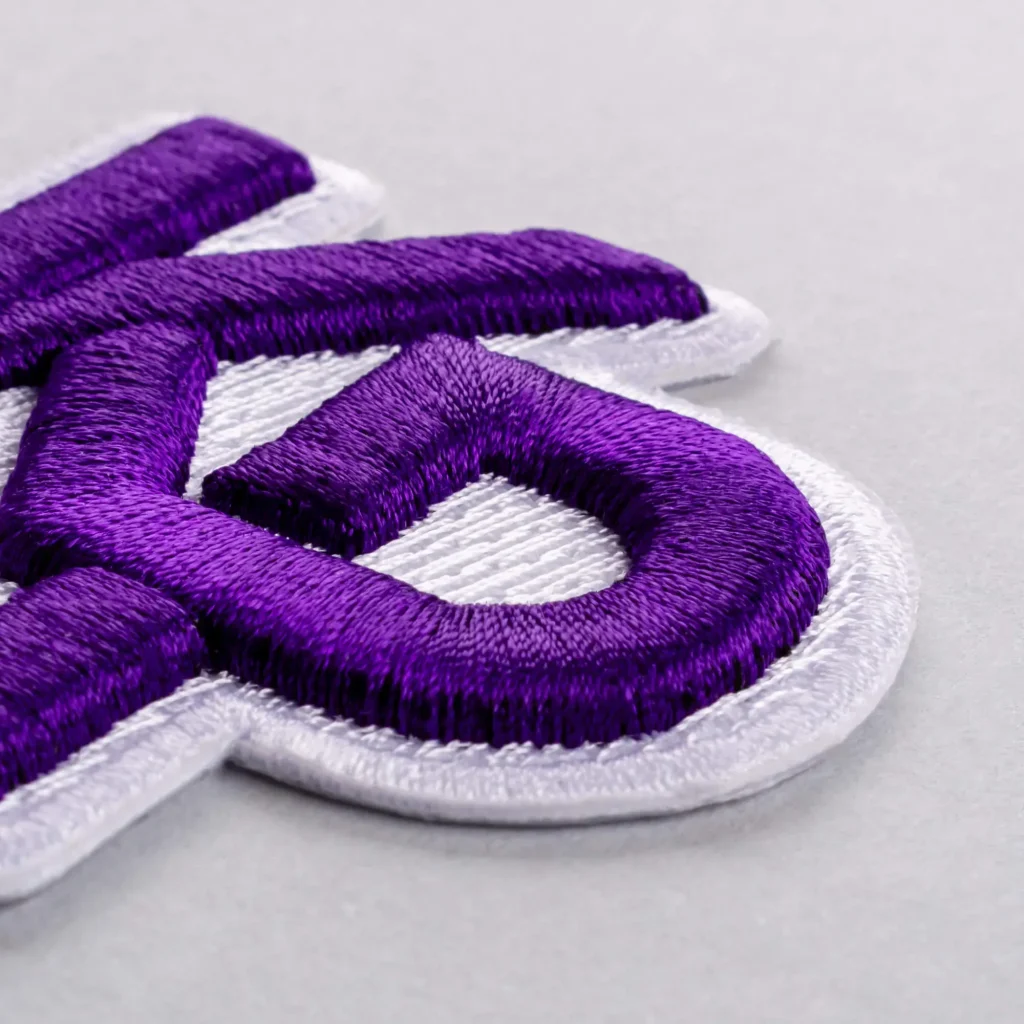
3D Embroidered Patches elevate traditional fabric badges by adding raised, tactile layers that catch light from every angle. The puffed, dimensional effect comes from carefully stacked stitches and sometimes a foam underlay, which together create visible depth without sacrificing fabric flexibility. This approach makes patches feel sculpted, almost like mini bas-relief artwork, while remaining durable enough for everyday wear on jackets, backpacks, and hats.
In practice, the 3D effect isn’t just about aesthetics. It also contributes to longevity, as properly layered stitches resist flattening during washing or rough handling. The texture invites touch and engagement, encouraging longer visual inspection and brand recall. Whether you’re designing for a club, team, or fashion line, understanding the balance between height, fabric tension, and stitch density helps you craft patches that remain sharp and vivid through repeated wear.
From Idea to Design: Sketching for How to Make Embroidered Patches
If you’re curious how to make embroidered patches, begin with a clear concept that communicates a story or brand identity. Sketch rough shapes, jot color palettes, and outline which elements should be raised versus flat. Mapping these decisions early helps you plan stitching order, prevent crowding, and ensure that bold features retain legibility when produced as a 3D patch.
As you refine the concept, consider the intended surface—denim, canvas, leather—and how size will impact visibility. Simple silhouettes with strong color blocks translate most cleanly into puff embroidery patches, allowing the 3D elements to pop without becoming muddled by fine details. Testing color arrangements under different lighting will also help ensure your design reads clearly in real-world environments.
Backing Options for Patches: Selecting the Right Attachment for Your Garment
Backing options for patches determine how a finished piece will be attached and how long it will last. Iron-on backing offers quick, temporary attachment, while sew-on backing provides a secure, long-lasting hold that’s ideal for heavy wear. For switchable looks, Velcro backing or adhesive backings give flexibility, though they may influence the perceived depth of raised areas.
When designing 3D patches, the backing choice can affect legibility and the patch’s silhouette. Heavier backings, like sew-on, often pair well with thicker Foam or underlay to preserve height after multiple washes. Lighter iron-ons are convenient for sampling and personalization, but may require careful heat control to avoid distorting the puffed elements.
Puff Embroidery Patches: Achieving Lift, Texture, and Shine
Puff embroidery patches emphasize lift and texture by layering stitches and sometimes adding underlay material to elevate the surface. Edge outlining with tight satin stitches defines the patch’s boundary, while layered fills build the raised shapes that catch light and invite closer inspection. The result is a tactile badge that feels substantial and premium.
To maintain a crisp 3D look, balance height with fabric stability. Too much height can cause warping after washing, so professionals test prototypes, adjusting stitch counts, layer thickness, and thread choice. Glossy threads can highlight raised features for a vibrant appearance, whereas matte options yield a vintage vibe—both effective depending on the brand’s aesthetic and the patch’s intended application.
Digitizing and Thread Choices for Custom Embroidered Patches
Digitizing is the bridge between concept and production, translating artwork into machine-ready instructions. For custom embroidered patches, the digitizer selects stitch types, density, underlay, and stack height to achieve the desired 3D effect. The choice of thread—polyester for durability, rayon for sheen, or cotton blends for a softer touch—shapes texture, color brilliance, and how well the design stands up to wear.
Thread selection directly influences texture and color management. For 3D patches, ensuring color separation with appropriate outlines helps maintain legibility across complex designs. Prototyping patches and testing under different lighting reveals how shadows and highlights will perform in real life, enabling you to refine digitized files before full-scale production of custom embroidered patches.
From Prototype to Production: Wearability, Care, and Brand Consistency
The leap from prototype to production requires validation of stitch density, backing adhesion, and overall aesthetics. A well-made patch should display crisp edges and balanced depth, with colors that remain distinct after multiple wash cycles. Creating a prototype lets you verify how the patch sits on the target garment and whether any adjustments are needed before the full run.
Care and branding go hand in hand. Packaging, labeling, and presentation should reflect the same quality standards as the patch itself. By aligning backing choices, patch height, color management, and care guidance, you build a cohesive product that communicates reliability and brand identity, whether you’re selling a single custom embroidered patch or launching a line of patches.
Frequently Asked Questions
What are 3D Embroidered Patches and how do they achieve a puffed, dimensional look?
3D Embroidered Patches achieve depth by raised stitches built up with layering and, in some cases, foam underlay. The puff embroidery patches technique uses satin edges plus layered fills to create height, catching light and delivering a tactile, durable finish that stands out on jackets, bags, and hats.
How do you choose backing options for patches when working with 3D embroidery patches?
Backing options for patches vary from iron-on and sew-on to adhesive and Velcro. For 3D embroidery patches, consider how height and wear interact with backing: sew-on is the most durable for frequent washing, iron-on is quick for personalization, and Velcro allows interchangeability while maintaining legibility of raised areas.
What distinguishes puff embroidery patches within the broader category of 3D Embroidered Patches?
Puff embroidery patches refer to the technique that stacks multiple layers of stitches or uses foam underlay to push sections outward, creating a pronounced, textured surface. This height adds dimension to 3D embroidery patches while preserving detail and durability across fabrics.
How can you design custom embroidered patches for branding using 3D Embroidered Patches?
Start with a clear concept for your custom embroidered patches, then sketch or storyboard shapes and text. Plan which areas will be raised, digitize the design, select thread colors and densities, test a prototype, and choose a backing that suits your brand’s needs. This ensures your 3D Embroidered Patches convey your identity with clarity.
What is the step-by-step process to go from idea to finished 3D Embroidered Patch (how to make embroidered patches)?
Idea → design sketch (layout, color blocks, text) → digitize for stitching → select thread types and densities → choose backing → stitch and finish → test for durability and washability. This workflow aligns with creating professional 3D embroidery patches that look as good in person as in concept.
How should you care for 3D Embroidered Patches to maintain texture and color after washing?
Care for 3D Embroidered Patches by turning garments inside out, using cold water and a gentle cycle, and avoiding high heat. Air-dry when possible to preserve puff texture, and inspect edges periodically to catch any loose threads before they worsen.
| Aspect | Key Points |
|---|---|
| Introduction |
|
| What makes 3D patches special? |
|
| Design & Planning |
|
| Digitizing & Thread |
|
| Backing Options |
|
| Stitching Process & 3D Techniques |
|
| Wearability & Versatility |
|
| Prototype to Finished Accessory |
|
| Practical Use Cases & Applications |
|
| Care & Maintenance |
|
| Getting Started: DIY or Professional Production |
|
Summary
3D Embroidered Patches provide a tactile, durable way to express identity across garments. By using raised, layered stitches and optional foam underlay, patches gain depth that catches light and invites touch. The right balance of height and stability ensures longevity through washing and wear, making them ideal for jackets, backpacks, hats, and denim. The journey from idea to finished patch starts with a clear concept, sketches, and a plan for which areas will be raised, followed by digitizing the design and selecting appropriate threads and backings. Edge outlining, layered fills, and stabilizers create crisp edges and consistent texture, while careful color management keeps blocks distinct under varied lighting. Choosing the backing—iron-on for quick personalization or sew-on for durability—affects usability and wash resilience. Prototyping lets you test density, adhesion, and final look before production, and thoughtful packaging reinforces branding. Whether you’re crafting one-off pieces or a branded line, 3D Embroidered Patches blend artistry with practical wearability, offering a premium, memorable way to customize clothing and accessories.